Kitsune Evolution Kitsune Transformations Tier List
Which Kitsune forms are worth unlocking first for Speed, stages, and long-term bonuses.
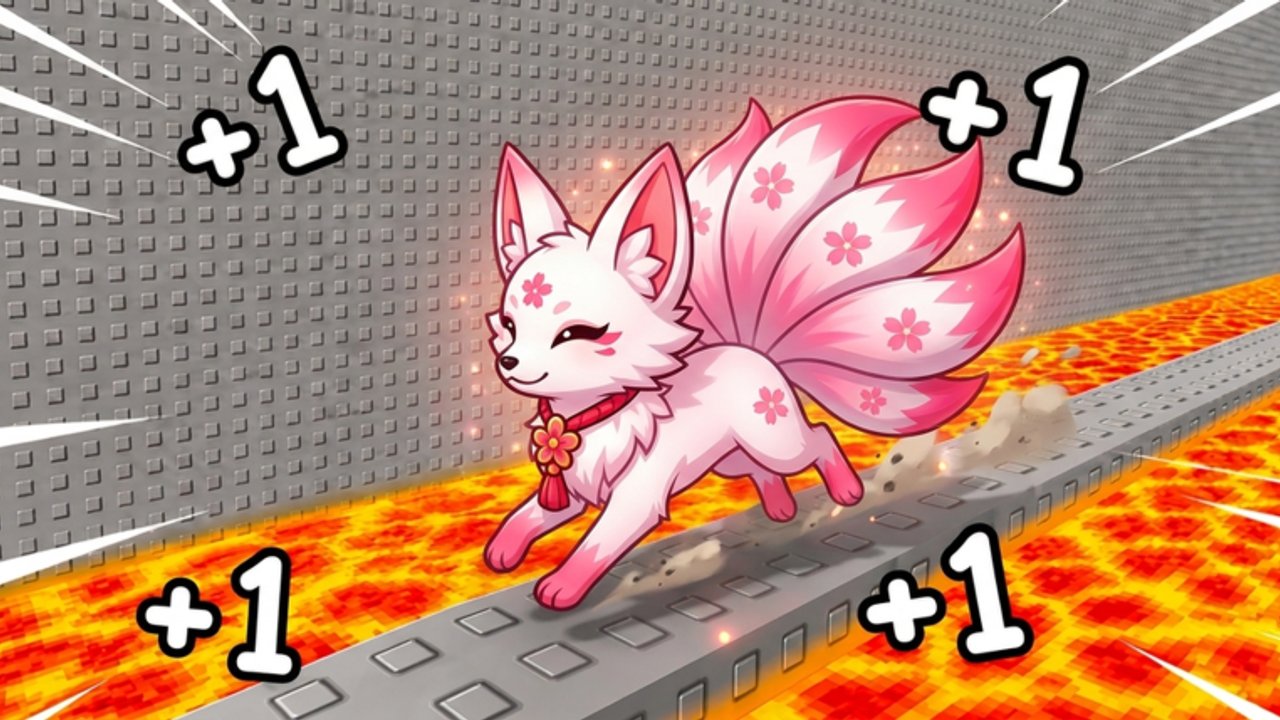
Kitsune transformations are the identity fantasy of +1 Kitsune Evolution and a major power spike when chosen well. This Transformations Tier List ranks forms by progression value: how quickly they help you run stages, recover from hazards, feed Win pads, and set up stronger rebirths. Looks matter for screenshots; multipliers matter for Space.
Combine this page with the Tier List Hub, pets tier list, trails tier list, stages walkthrough, rebirth guide, and gamepasses. A top form on a terrible route still underperforms.
Scoring transformations
Forms are graded on:
- Movement and clear speed — time to finish a stage lap
- Hazard tolerance — value when deadly floors or rising sand punish mistakes
- Win economy — whether the form helps you touch pads more often per minute
- Unlock timing — power relative to what the form costs in Wins, requirements, or Robux
- Post-rebirth relevance — if the form remains a cornerstone after multipliers reset upward
If two forms look similar, the cheaper unlock that arrives earlier usually wins for real accounts.
Named paid Kitsune forms (Robux shop)
These shop forms are the named paid options players compare most often. Prices are Robux (R$) and can change after patches — recheck the in-game shop and gamepasses before spending.
| Form | Robux (R$) | Progression notes |
|---|---|---|
| Blossom | 99 | Entry paid Kitsune form — buy when you want a clear identity spike without emptying a larger Robux budget |
| Ember | 149 | Mid paid step — compare its clear-speed feel against saving for Frost or funding eggs/rebirth first |
| Frost | 249 | Higher paid tier — justify it with shorter Snow–Magma routes, not cosmetics alone |
| Astral | 399 | Top listed paid form cost here — only after pets already work and you understand pad rhythm |
| Leopard | 99 | Strong value pick: +200K Steps plus x1.5 Wins on pads — excellent when Steps treadmills and pad income are your bottlenecks |
How to spend on paid forms
- Redeem codes and stabilize free progression before impulse Robux buys
- Prefer Leopard when you specifically need Steps bank + denser pad Wins at the 99 price point
- Treat Blossom → Ember → Frost → Astral as a cost ladder: climb only while each step still beats another egg burst or rebirth timing
- Never buy a paid form to “fix” deadly floors — forms raise pace; hazards still kill on contact
- Full shop context (Auto Hatch, treadmill tiers, phone-related passes) lives on gamepasses
Paid forms still follow the same S–D philosophy below: a cheap form with real pad/Steps math outranks an expensive form you equip for screenshots only.
S tier — transform ASAP
S-tier Kitsune forms are the ones you plan your Wins (or carefully chosen Robux) around. They typically:
- Deliver an obvious Speed, Steps, or Wins jump the moment you equip them
- Shorten the awkward middle stages (Snow, Wild West, Magma) where hazards start deleting runs
- Stay equipped even after you unlock flashier later forms
Leopard often plays in this conversation at R$99 because of its explicit +200K Steps and x1.5 Wins on pads package — measure it against your current treadmill and pad loop before skipping it for a pricier cosmetic climb.
When an S form appears in your unlock tree or shop, pause low-value egg spam and finish the requirements. Pair the new form with your best pets immediately so the multipliers stack instead of sitting unused.
A tier — strong mainstays
A-tier transformations are excellent long-term mains. They may not rewrite the game on unlock day, but they carry Desert pushes and make treadmill sessions feel denser. Keep an A form as your daily driver while you bank currency for the next S unlock.
A forms are also ideal “rebirth anchors”: after you rebirth, re-equip the A form first so your muscle memory route stays familiar while numbers climb. Mid-ladder paid forms such as Ember or Frost often land here unless a patch pushes their clear speed into S.
B tier — bridge forms
B-tier forms exist to solve a specific wall:
- Surviving rising sand sections you keep failing
- Adding enough Speed to reach the next Win pad cluster
- Acting as a cheaper stepping stone toward an S form (including Blossom as an on-ramp when it is the only paid spike you can justify)
Buy B forms when they are the on-path unlock that unsticks you. Skip them if you can already afford the better form and your pets are ready.
C tier — optional flavor
C-tier transformations are fine for collection and style. They rarely deserve emergency Wins or Robux when Magma or Desert is still closed. If you unlock a C form “for free” through gameplay, enjoy it, then switch back to your farm form for serious sessions.
D tier — hold unless required
D-tier forms are outdated, tiny-bonus, or purely cosmetic relative to cost. Do not drain rebirth savings for them. Check Updates before investing in case a patch buffs a previously weak form into relevance.
Suggested unlock philosophy
Early game (Sakura → Beach)
Focus on the first transformation that clearly raises run Speed or pad income. Your goal is reliable Win pads, not a complete collection. Redeem codes first so the unlock does not empty your account. Delay Astral-tier Robux spends until the loop makes sense.
Mid game (Snow → Magma)
Prefer forms that forgive hazards or shorten time spent on deadly floors. A slightly weaker fantasy form that keeps you alive can outfarm a glass-cannon look. Re-read Players and Hazards when deaths spike. Leopard’s Steps and pad Wins bonuses help recovery economies after Teleport Back downtime.
Late game (Desert → Space)
Favor forms that multiply long treadmill sessions and extended stage routes. Space is a stamina check on your whole kit: pets, trails, rebirth bonuses, and the form you actually enjoy running for minutes at a time. Astral only makes sense here if pets already work and the cost does not steal a better rebirth plan.
Transformations vs pets vs trails
| System | Role | When it wins |
|---|---|---|
| Pets | Passive farm multipliers from eggs | Most continuous gains |
| Transformations | Active identity + major unlock / shop spikes | When a form gateblocks the next stage pace |
| Trails | Equippable bonus polish | After pets/forms already work (trails) |
If you can afford only one upgrade today, compare the next pet hatch against the next form using time-to-clear, not vibes. The pets tier list exists for that comparison. Trails come last.
Practical checklist before unlocking
- Can you clear your current stage without the form, just slower?
- Will the unlock delay your first or next rebirth by a painful amount?
- Do you already have at least one strong farm pet equipped?
- Have you spent free code rewards?
- Does the form help on the next hazard type you actually struggle with?
- If paying Robux, did you compare Leopard’s Steps/Wins package against climbing Blossom→Astral only for looks?
If you answer “no” to most of these, bank Wins (or wait on Robux) a little longer.
Related links
- Tier List Hub — shared grading rules
- Pets Tier List — egg investment ranks
- Trails Tier List — polish after forms
- Gamepasses — paid shop context for forms and QoL
- Stages Guide — where each form will be tested
- Getting Started — first-hour unlock order
- Speed Farming — how forms feel on treadmills
Transform when the math says the Kitsune form changes your loop. Collect the rest later. That discipline is what separates steady Space progress from a closet full of idle skins.
Frequently Asked Questions
Quick answers to the most common questions.
Should I unlock every Kitsune transformation?
Collect if you enjoy them, but spend scarce Wins or Robux on S and A forms first. C and D forms can wait.
What does Leopard Kitsune give?
Leopard costs R$99 and grants +200K Steps plus x1.5 Wins on pads — strong when treadmills and pad income are your bottlenecks.
Do transformations replace pets?
No. Forms and pets stack. A strong transformation on empty pet slots still farms slower than a balanced kit.
When is the best time to transform?
When the unlock clearly shortens stage clears or hazard deaths without wrecking your rebirth savings plan.
Where should I read about paid form prices and other passes?
See the Gamepasses guide for shop context, and recheck in-game prices before spending Robux on Blossom, Ember, Frost, Astral, or Leopard.