Kitsune Evolution Hazards
Survive deadly floors and rising sand from Sakura to Space with Teleport Back discipline and smarter routes.
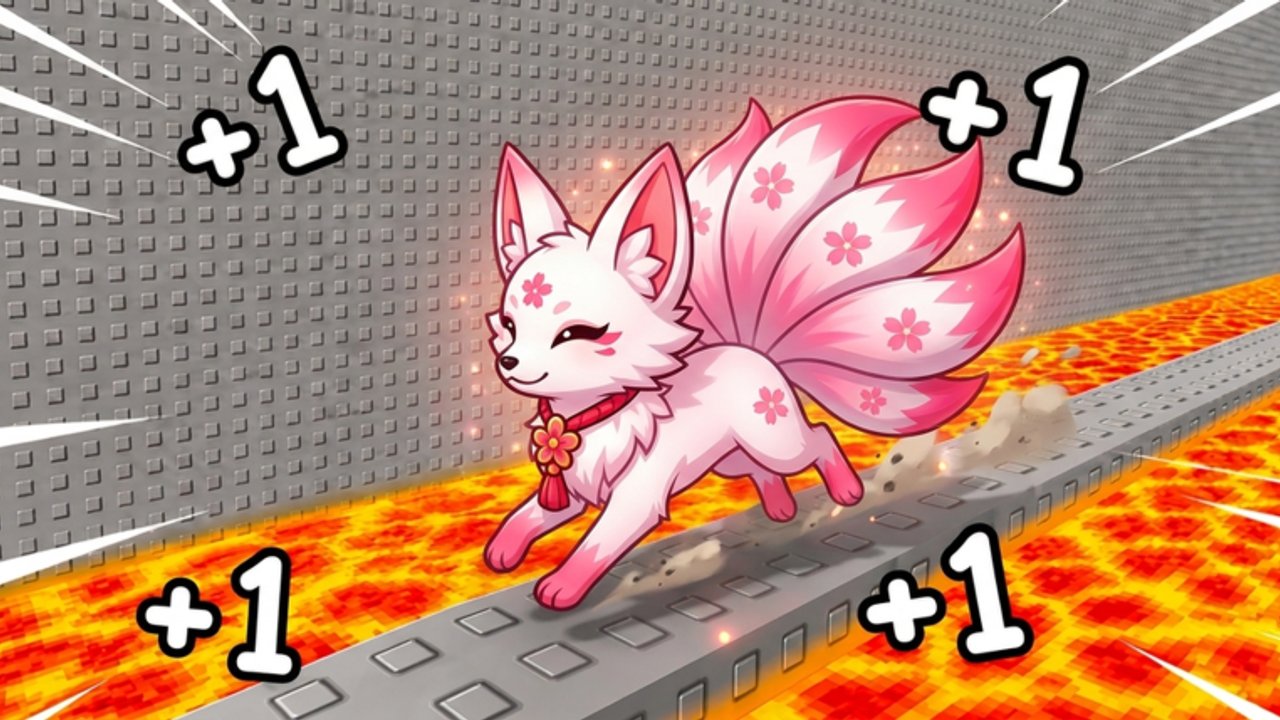
This Hazards guide is the survival manual for +1 Kitsune Evolution. Incremental simulators still delete runs when deadly floors and rising sand punish greed. You will learn how those hazards work, how Teleport Back turns a death into a short delay, how to think stage-by-stage from Sakura to Space, how Kitsune forms and pets help survival, and which mistakes burn the most Wins.
Read it with Controls, the Players Hub, and the Stages Walkthrough. Strong transformations cannot save a player who ignores kill planes.
Why hazards matter to the farm
Every death interrupts Speed → Win pads → Wins. Pets and forms multiply successful laps; they do not refund time spent respawning. Hazard discipline is therefore a progression stat. A slightly slower safe route often prints more Wins-per-hour than a greedy line that dies every forty seconds.
Deadly floors
Deadly floors are surfaces that end your run on contact. Treat unfamiliar dark, marked, or lava-adjacent geometry as hostile until you cross it cleanly once.
Survival habits:
- Slow down at new geometry even if your Speed number feels high
- Keep the camera elevated so floors read before your feet arrive
- Prefer strafe corrections over panic spins near edges
- Cut greed pads that sit behind a kill surface you have not mastered
- After a death, do not immediately repeat the identical sprint
Deadly floors teach Magma early. Players who ignore Sakura and Beach warnings pay the tuition later with longer downtimes.
Rising sand
Rising sand punishes standing still in filling pits or low depressions. When sand climbs:
- Prioritize escape elevation over one more pad touch
- Leave the depression early — late jumps are how AFK habits die
- Rejoin your route at a safe anchor after recovery
- Schedule treadmill breaks so fatigue does not walk you into sand during Desert pushes
Rising sand is a timing and awareness check. Speed helps you leave faster, but Speed without reading still buries you.
Death recovery with Teleport Back
Teleport Back exists because deaths are expected. Use it as a tool:
- Trigger Teleport Back immediately after the kill
- Name the mistake in one sentence (“cut left corner,” “AFK in sand,” “menu mid-Magma”)
- Walk the segment once at lower risk
- Resume the Win pad loop only when the line is clean
Rage-sitting in menus after every Magma death costs more than the hazard. Teleport Back keeps Wins-per-hour closer to your skill ceiling. Control details for the button and HUD live on Controls.
Stage-by-stage hazard mindset
Sakura
Learn camera height and pad rhythm. Treat early kill surfaces as tutors, not insults. Build the Teleport Back reflex here so it is automatic later.
Beach
Spacing widens. Do not let higher Speed erase caution on new floor colors. Keep a short comfort lap as a warm-up before pushing farther (Players Hub warm-up routine).
Snow
Visibility and footing change. Assume more punishing floors. Prefer shorter living loops over maximal pad sightseeing until deaths drop.
Wild West
Props and open sightlines can hide edges. Curve around clutter instead of clipping corners that conceal kill surfaces. Server congestion near popular pads can shove your camera — shift routes if other players cause deaths.
Magma
This is the classic deadly-floor exam. Lower effective greed. Hard-stop before menus. If focus drops, leave Magma for treadmills instead of donating runs to lava.
Desert
Rising sand and long routes stack. Escape pits early, bank Wins on safe anchors, and do not AFK in depressions while checking the Kitsune Phone. Desert punishes fatigue more than Sakura ever did.
Space
Late-game stamina check. Your whole kit — pets, form, trail polish, rebirth bonuses — only matters if you stay alive long enough to spend Speed. Treat Space like a clean execution stage: known lines, fast Teleport Back, no experimental shortcuts mid-farm.
Full zone goals and unlock pacing sit on Stages.
How forms and pets help survival
| System | Survival role |
|---|---|
| Pets | More Wins per successful lap so each death hurts less economically |
| Kitsune forms | Clear-speed and presence spikes that shorten time spent in danger zones |
| Trails | Minor polish — not a hazard solution |
| Rebirth bonuses | Faster rebuilds so practice loops return sooner |
| Player skill | Still required; no form deletes deadly floors |
Prefer forms that forgive mistakes when Snow through Magma are deleting you — see the transformations tier list. Paid forms such as Blossom, Ember, Frost, Astral, and Leopard can change clear pace, but they do not replace reading floors. Pair strong pets with clean lines from speed farming so multipliers land on living runs.
If your kit is strong on paper and Magma still farms you, spend a session on movement drills instead of another panic hatch.
Common mistakes
- Sprinting unfamiliar floors at max Speed on first sight
- Opening Codes, shop, or phone UIs while straddling Magma
- AFK in rising sand while watching a minigame or chat
- Repeating the same failed line without a one-sentence correction
- Skipping Teleport Back and wandering lost after respawn
- Pushing Desert or Space while exhausted instead of using treadmills
- Blaming pets for losses that are really camera and route errors
- Treating every death as RNG instead of a readable geometry lesson
Hazard drill (five minutes)
- One Sakura or Beach lap with zero deaths as the only success metric.
- One intentional near-hazard walk on your highest unlocked stage without greed pads.
- One deliberate Teleport Back practice: die safely if needed, recover, re-orient in under a few seconds.
- Then start the real farm session.
Skipping drills is how first-death streaks begin.
When to leave a dangerous stage
Leave Magma, Desert, or Space temporarily when:
- You die three times on the same segment without a new plan
- Touch fatigue or distraction is rising
- You are about to open long menus anyway
- Treadmills would print Steps with near-zero mechanical risk
Returning later with a fresh camera and a shorter route is not retreat — it is Wins management.
Related links
- Players Hub — controls mindset and warm-ups
- Controls — HUD, Teleport Back, phone, device tips
- Stages Walkthrough — Sakura through Space goals
- Transformations Tier List — forms that shorten danger time
- Speed Farming — safe treadmill alternatives when focus drops
Respect kill planes, escape sand early, Teleport Back without drama, and let pets and Kitsune forms multiply the laps you actually finish. That is how hazard skill turns into Space progress.
Frequently Asked Questions
Quick answers to the most common questions.
What should I do after dying to a deadly floor?
Use Teleport Back immediately, name the mistake, walk the segment carefully once, then resume your Win pad loop.
How do I survive rising sand?
Leave filling pits early, skip greed pads inside sand, avoid AFK in depressions, and rejoin at a safe anchor after recovery.
Do Kitsune forms remove hazards?
No. Forms can raise clear speed and shorten time in danger, but deadly floors and rising sand still kill on contact or poor timing.
Which stages are the harshest for hazards?
Snow through Magma escalate deadly floors; Desert adds rising-sand pressure; Space punishes any sloppy late-game line. See the Stages guide for zone notes.
Should I keep farming Magma while tired?
Prefer treadmills or easier stages when focus drops. Fatigue causes repeatable hazard deaths that erase pet and form gains.